Jetson Lc0 (Jetson Engine v1) User Guide
1. Set up Jetson Xavier NX device: Follow Getting Started With Jetson Xavier NX Developer Kit to download the SD card image and install Jetson Xavier NX software packages. During the installations, make sure to create a user with both username and password as "jetson."
2. Connect Jetson Xavier NX device: Use a MicroUSB-to-USB cable to connect the Windows laptop to the Jetson Xavier NX device. Once connected, you should see "USB Serial Device" show up under "Ports (COM & LPT)" in the Windows Device Manager.

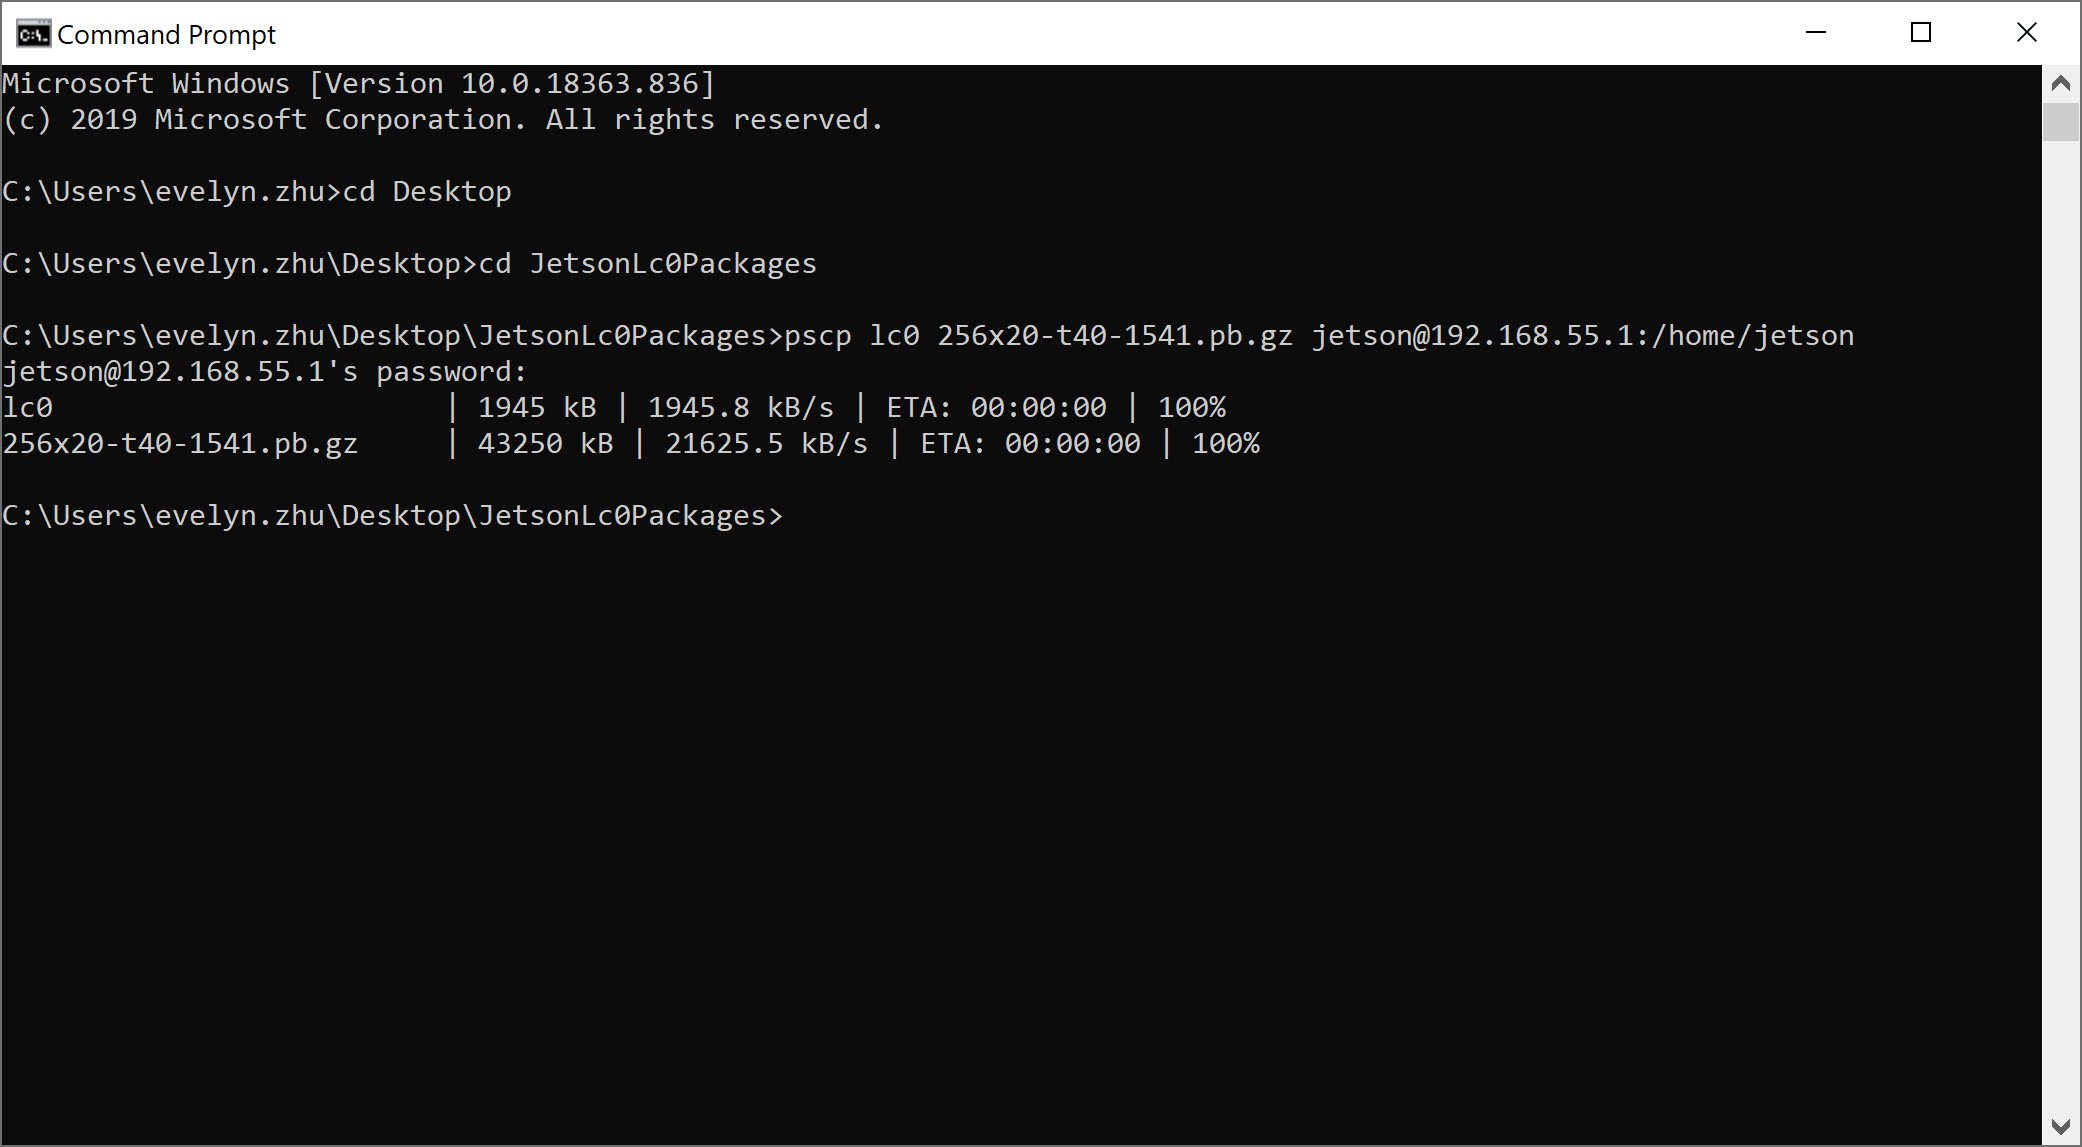
3. Copy lc0 engine to Jetson Xavier NX device: From Windows cmd prompt, use pscp command to copy the lc0 engine and the neural network weights file to the device.
C:\> pscp lc0 256x20-t40-1541.pb.gz jetson@192.168.55.1:/home/jetson
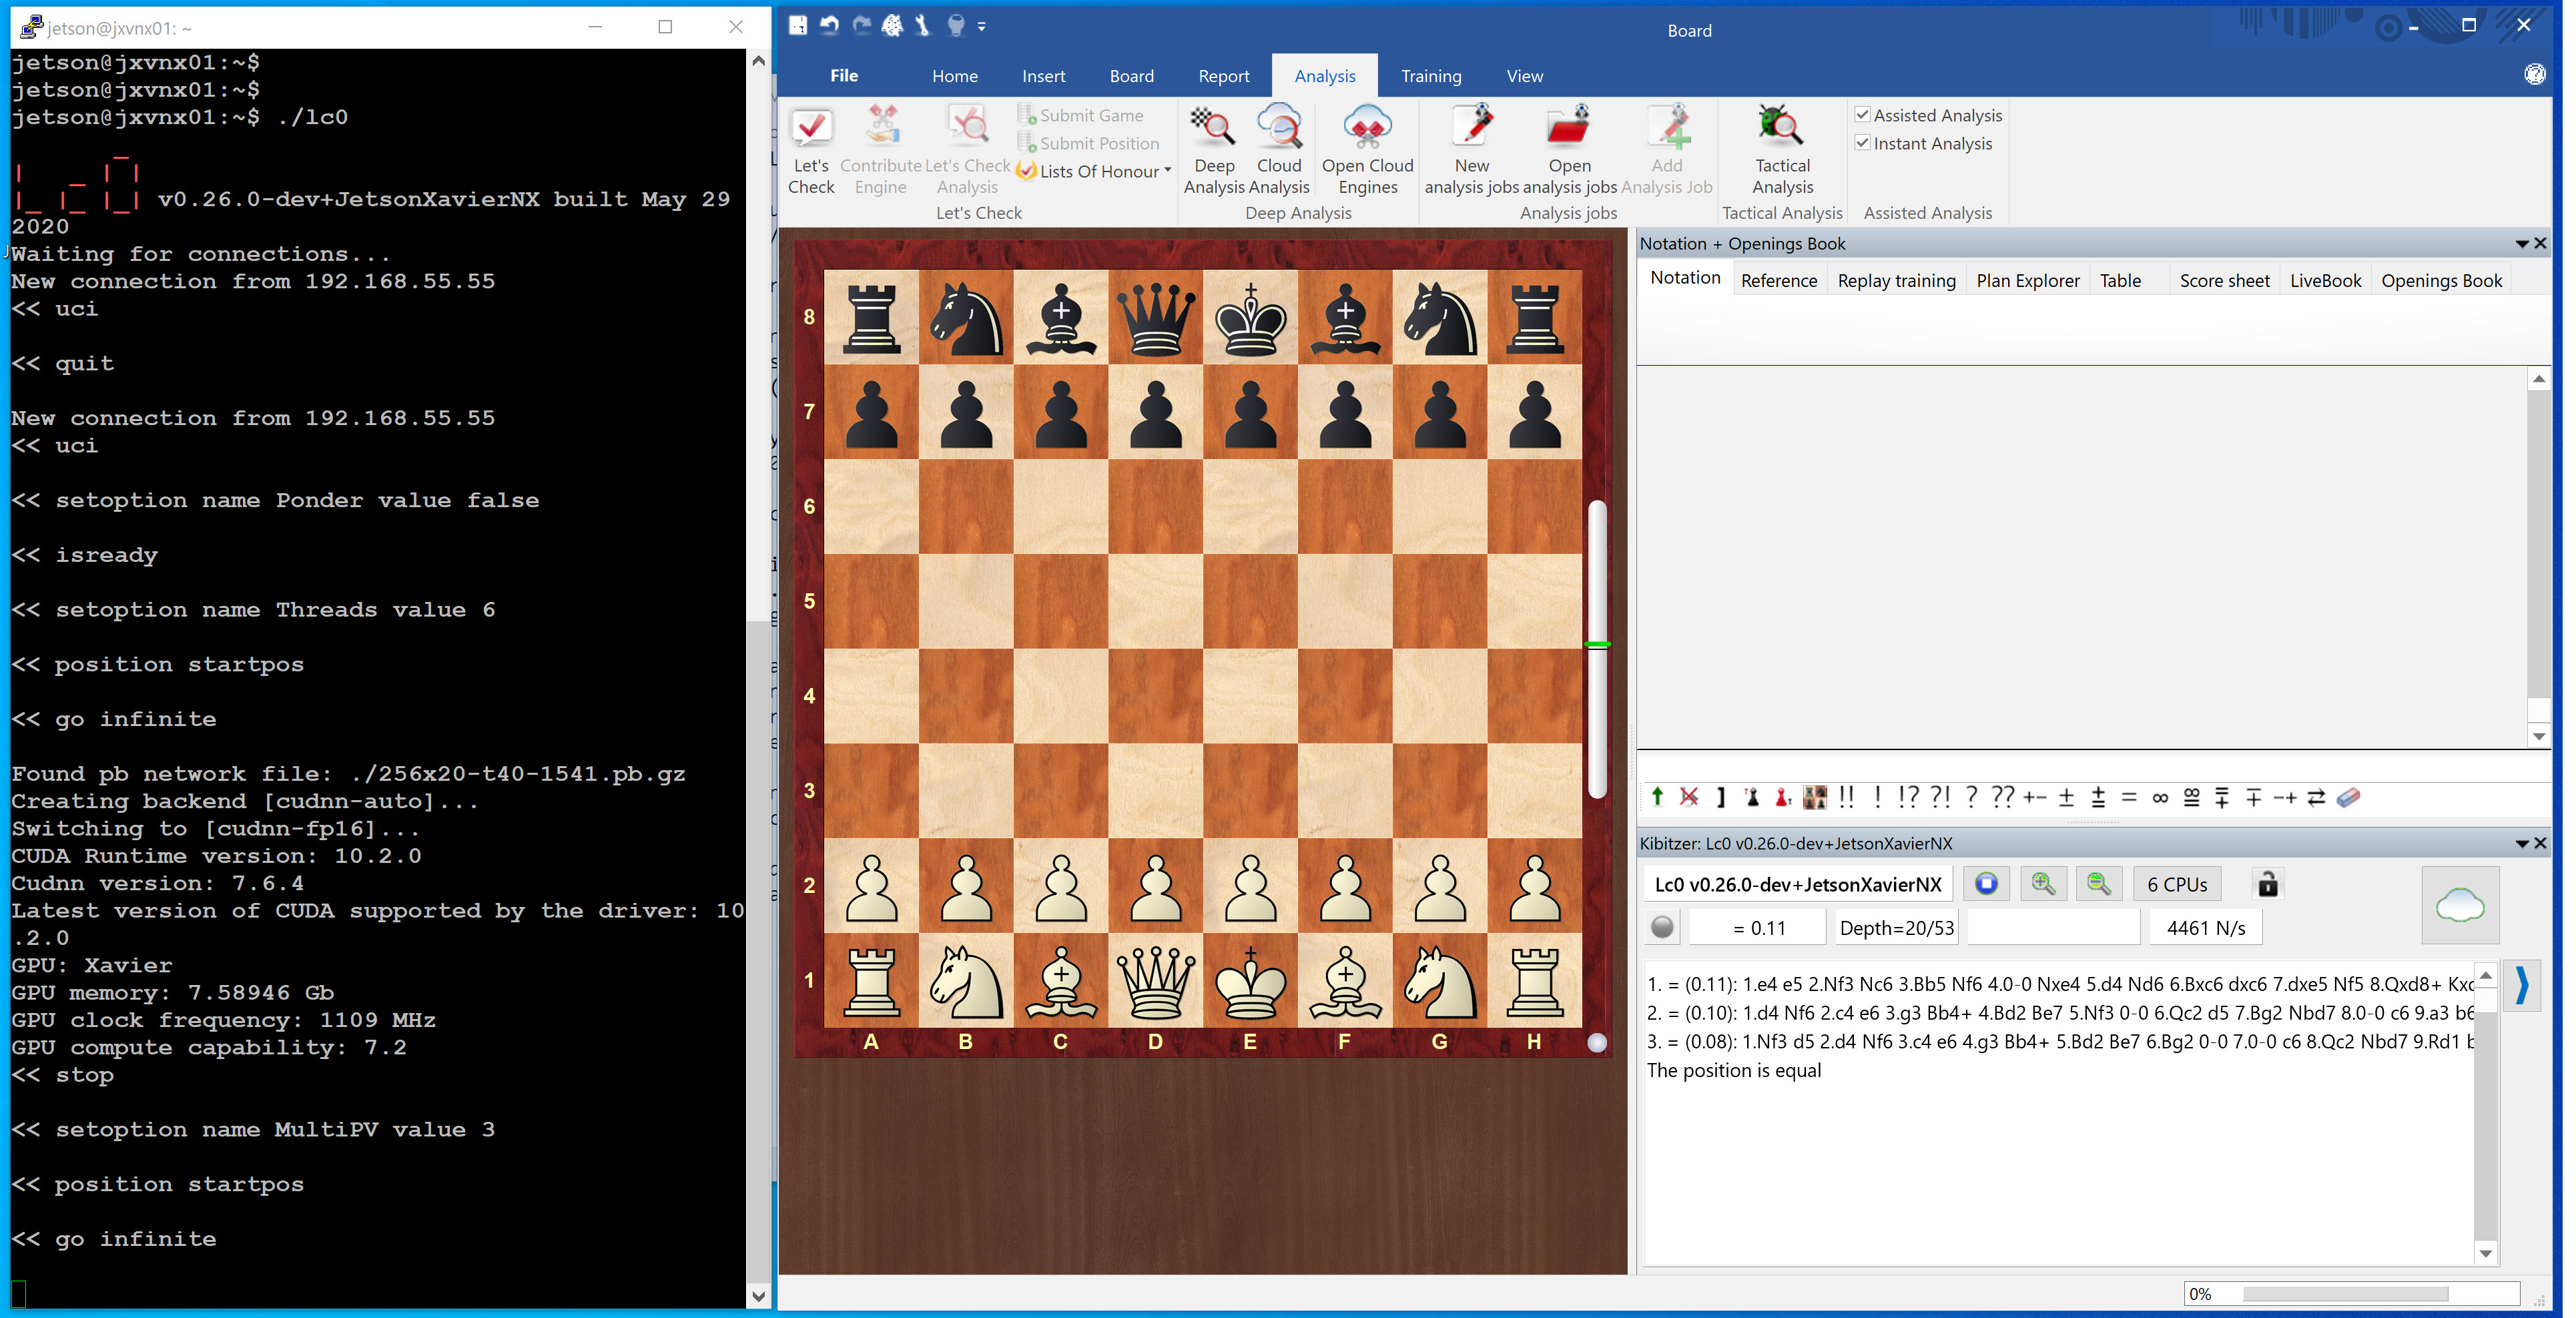
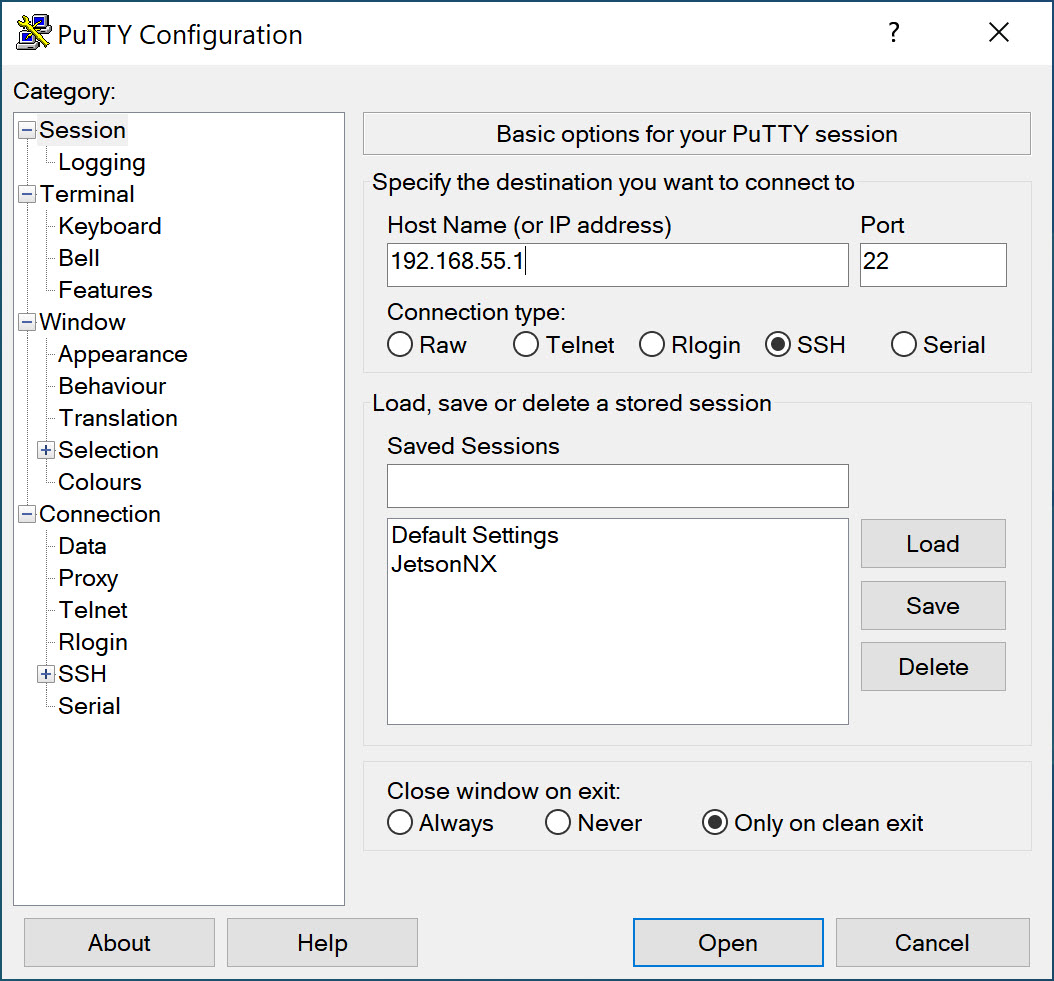
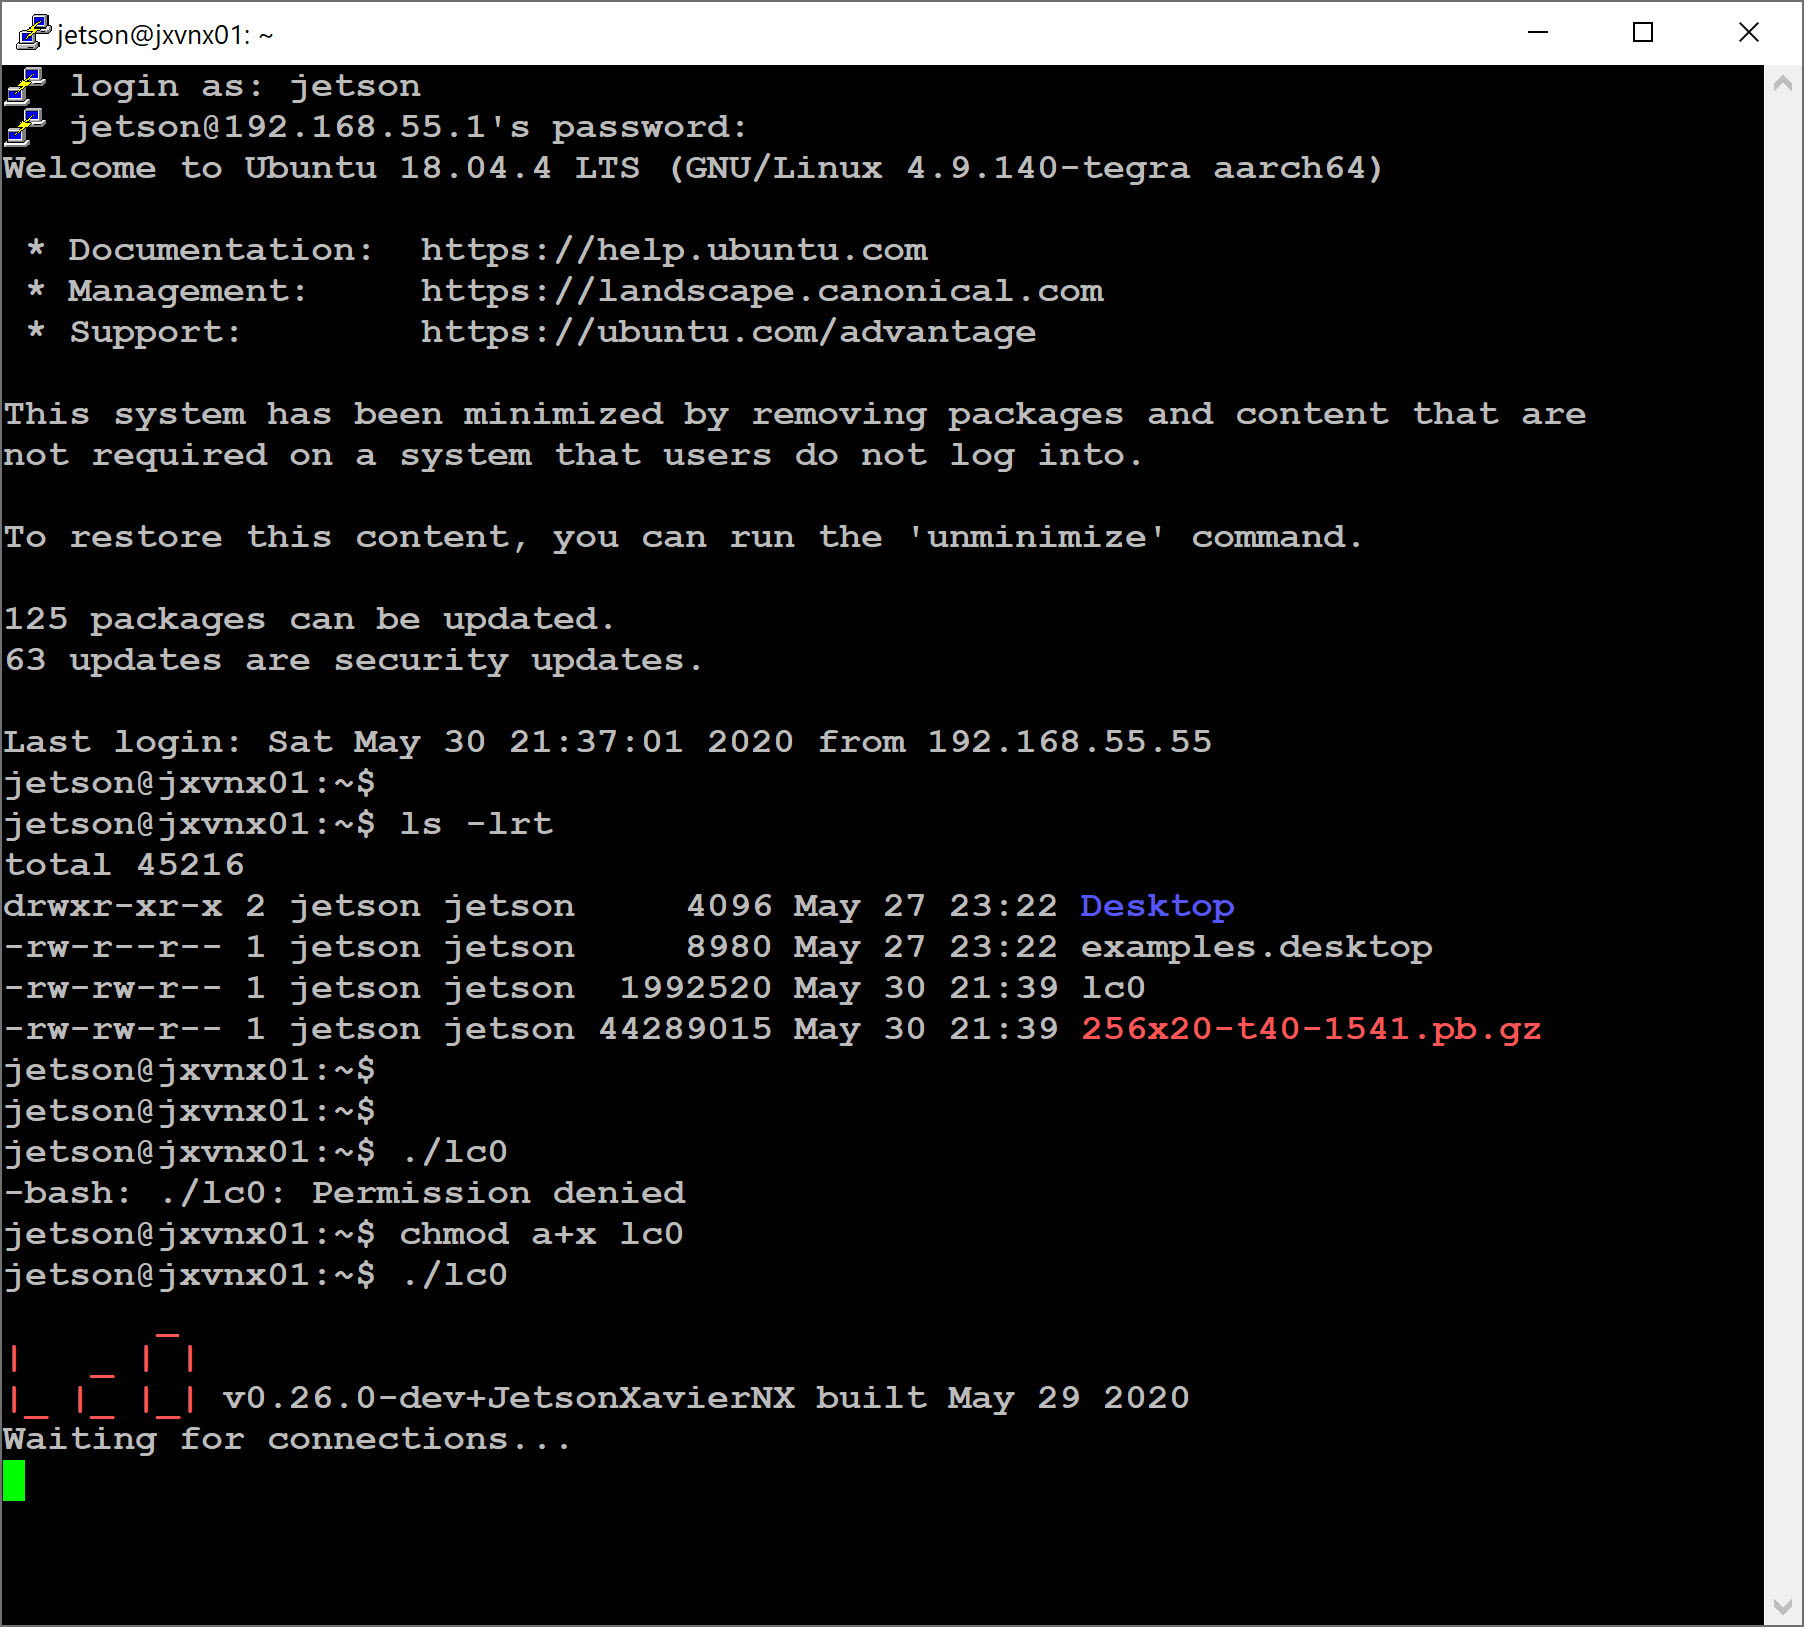
4. Log in Jetson device and launch lc0 engine: Launch PuTTY and select "SSH" with IP address 192.168.55.1. This prompts the user to enter the username and password, so simply type “jetson” for both. Once logged in to the Jetson device, we can simply run "./lc0" to launch the engine.
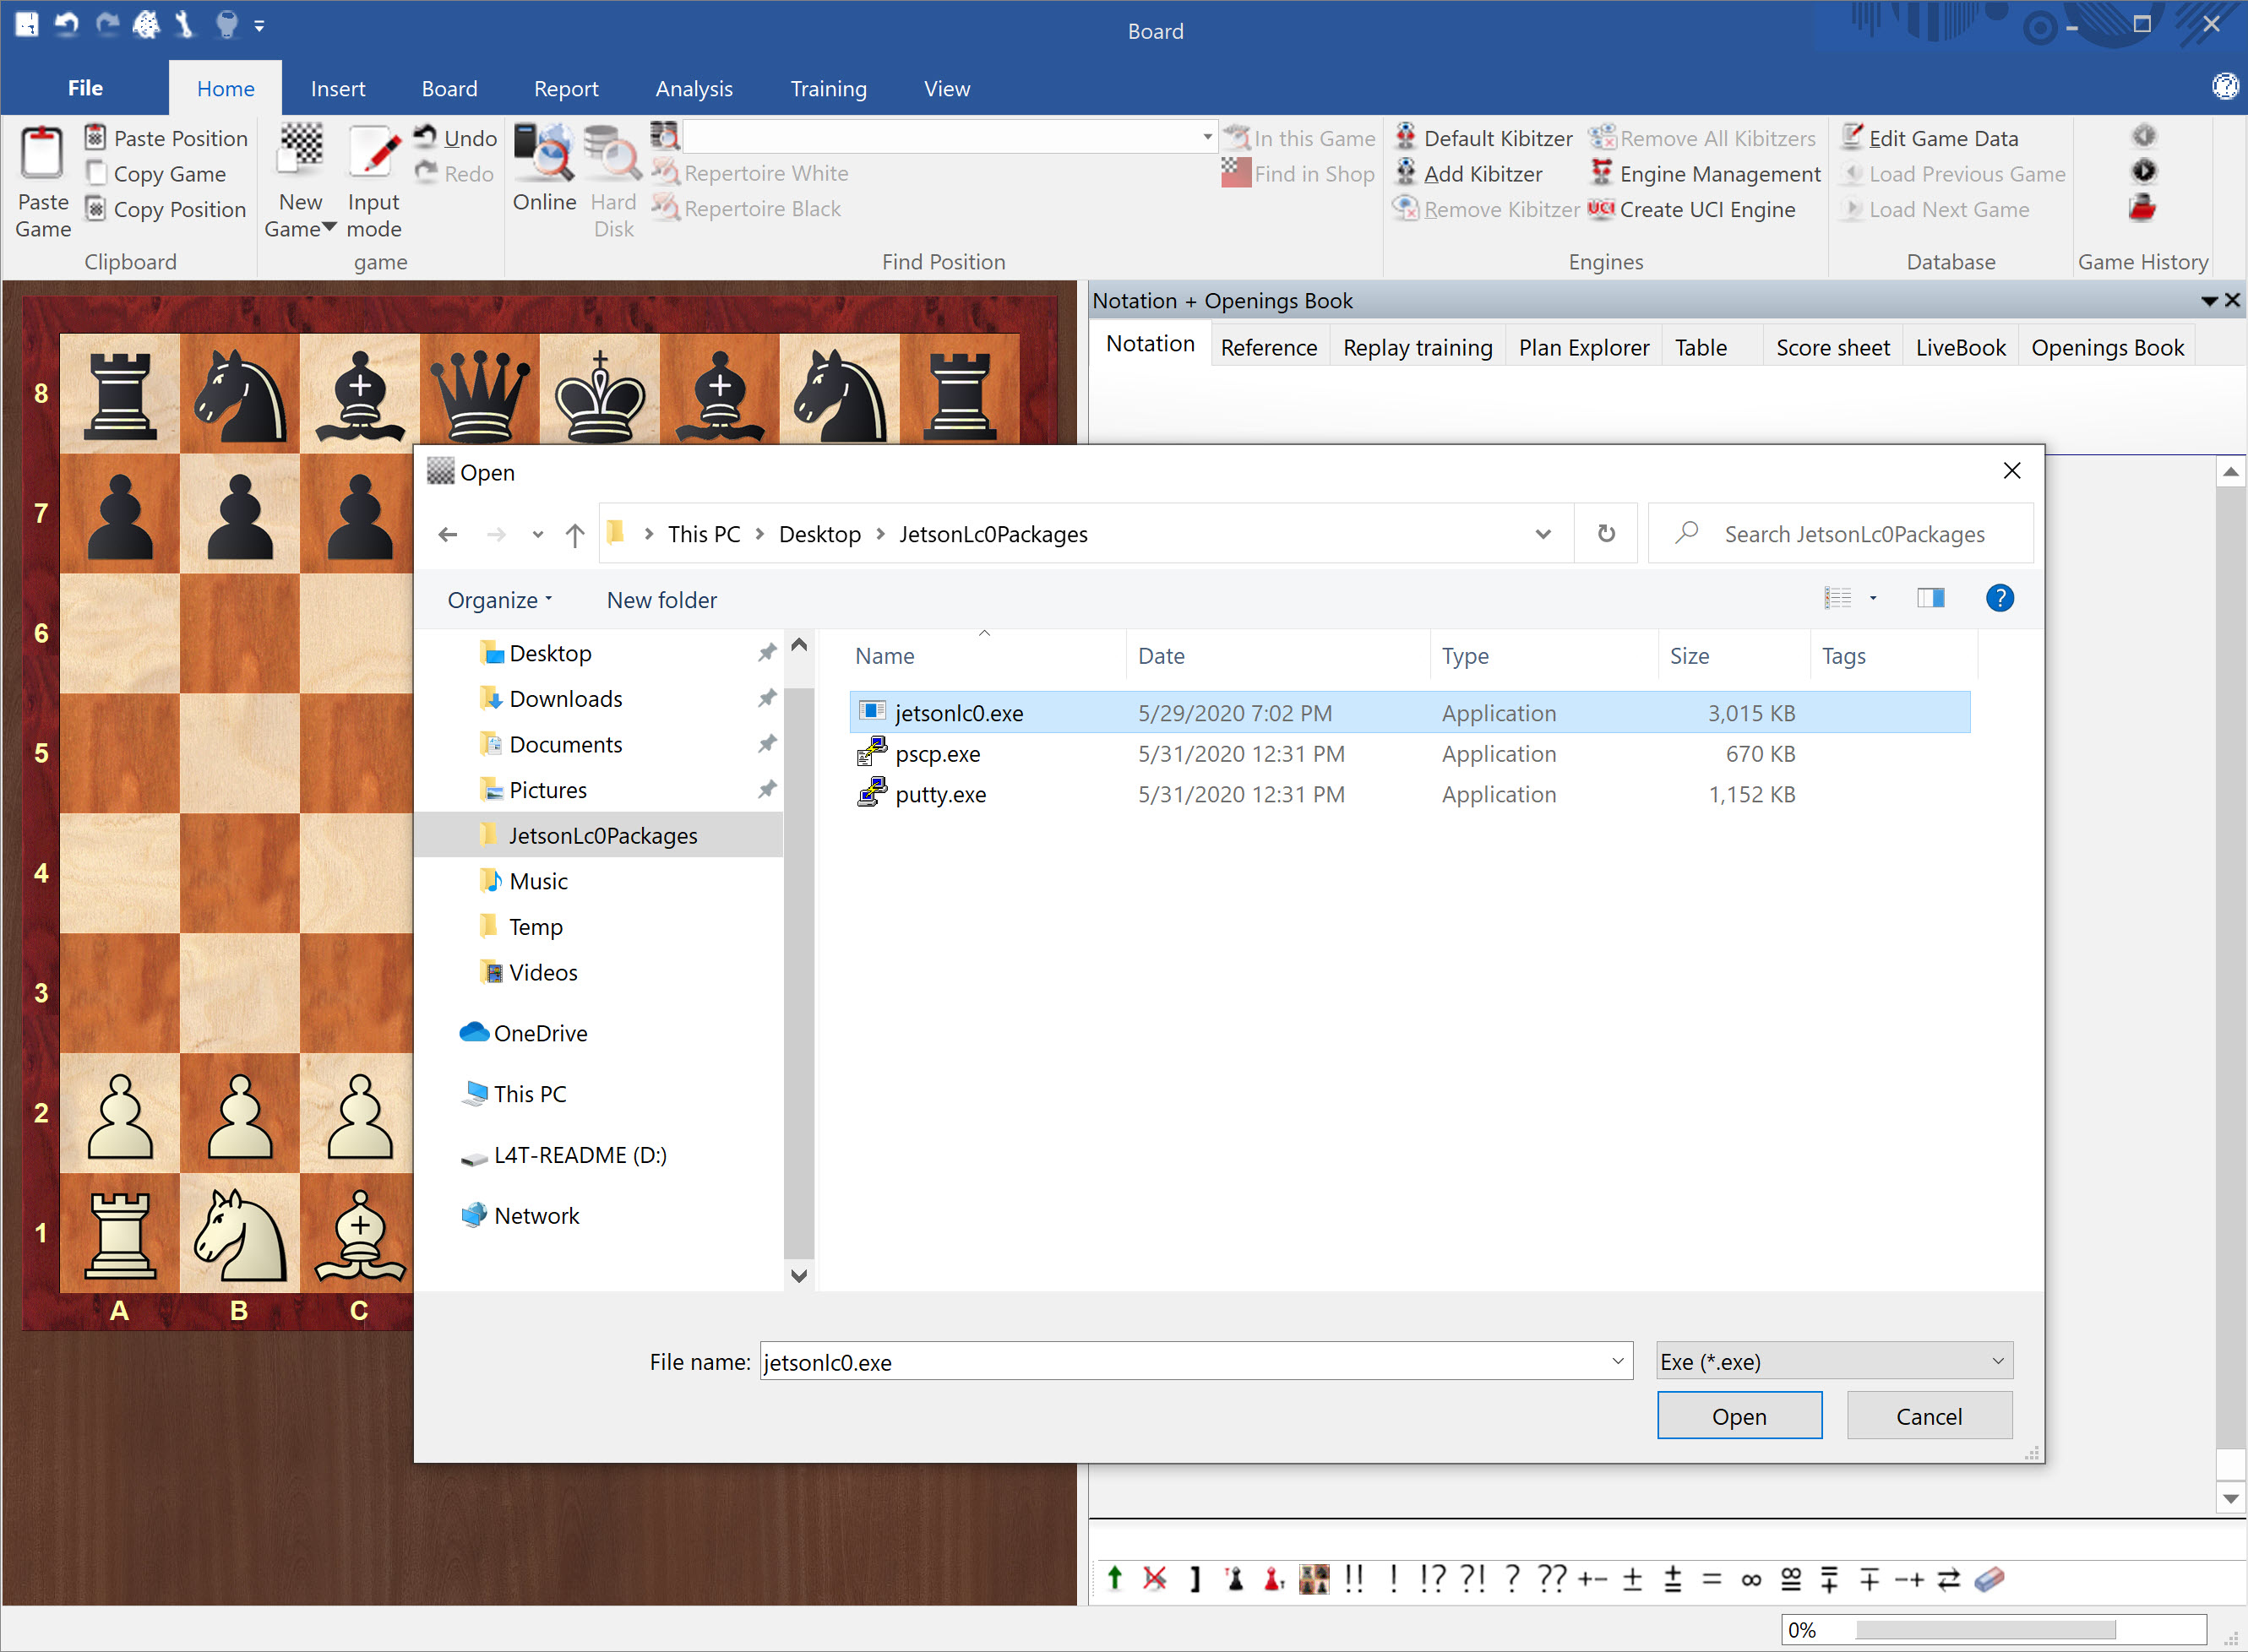
5. Create UCI engine from ChessBase: Launch ChessBase and click "Create UCI Engine." Select "jetsonlc0.exe", the frontend ChessBase UCI engine, to connect to the backend Lc0 engine running remotely on the Jetson device. Once the UCI engine is created, we can see "New connection from" message in the PuTTY session, indicating that a remote engine is connected.
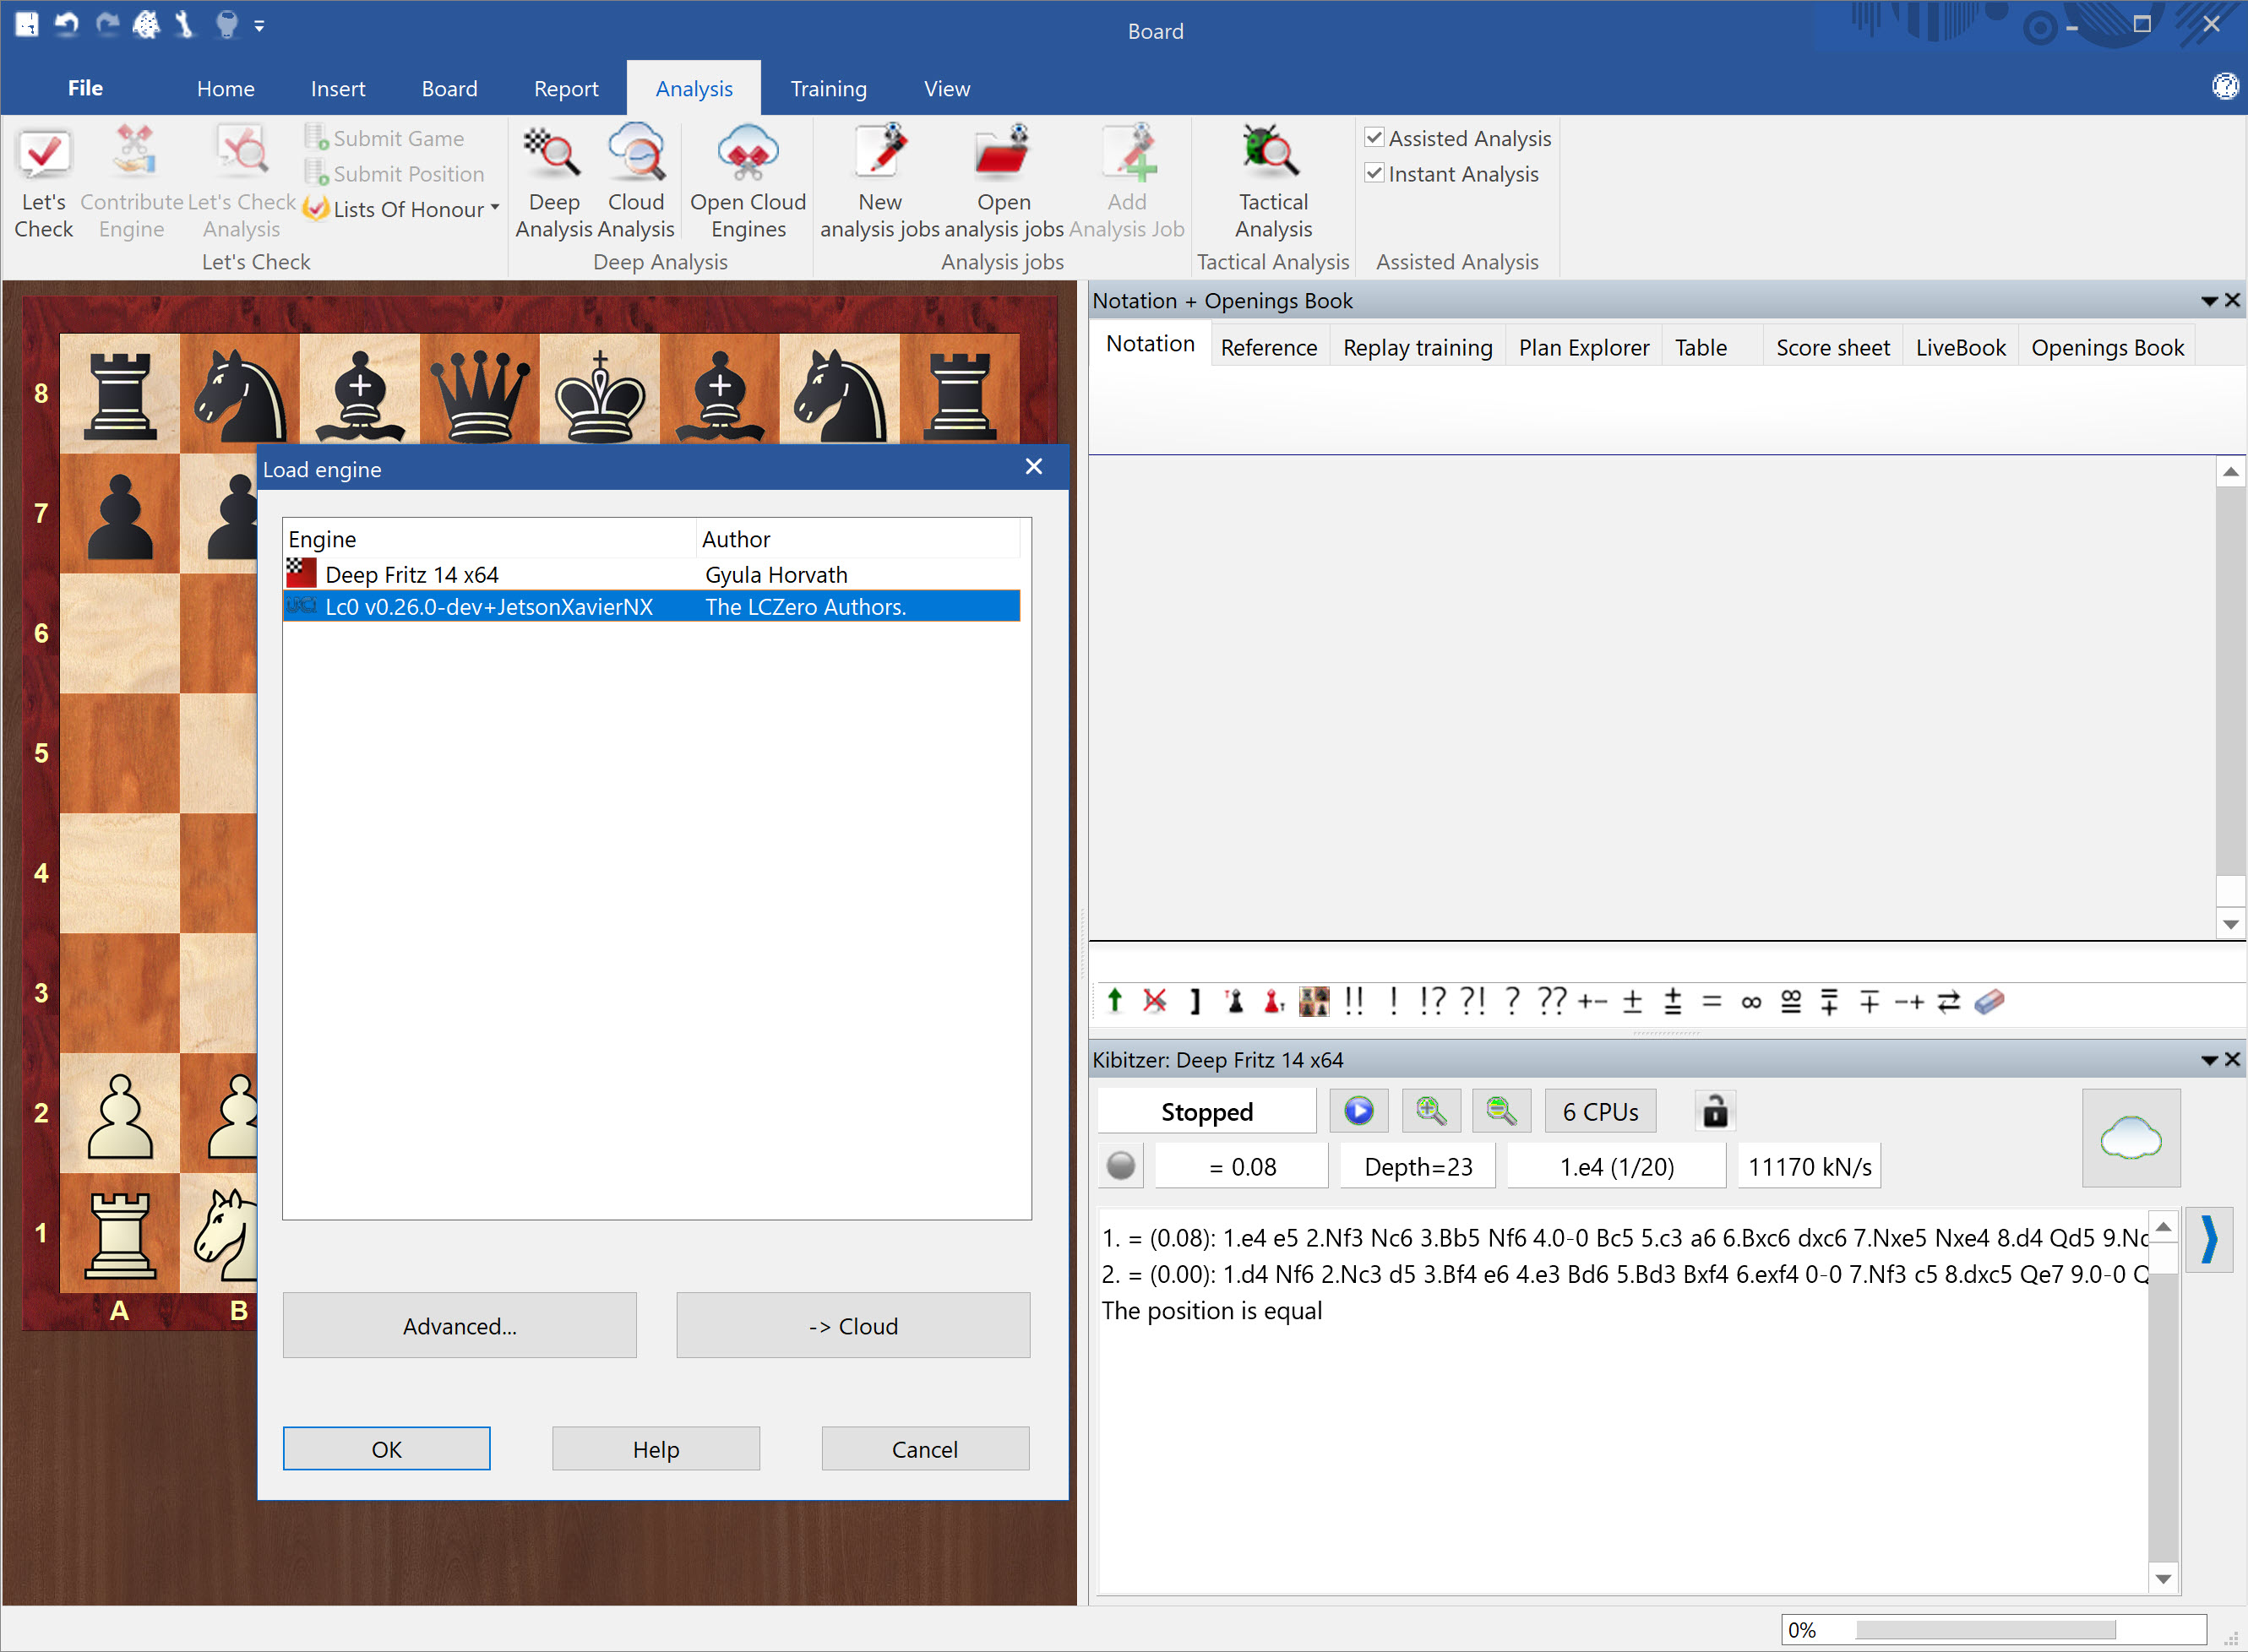
6. Launch and run UCI engine: In ChessBase, go to "Analysis" -> "Let's Check". The default engine that comes with ChessBase is Deep Fritz 14. To switch to the newly created Jetson Lc0 engine, select "Lc0 v0.26.0-dev+JetsonXavierNX" from "Load engine" box. The lc0 engine on Jetson device will be running. In the PuTTY session, we can see the neural network weights file is loaded and the engine is running on Xavier GPU.